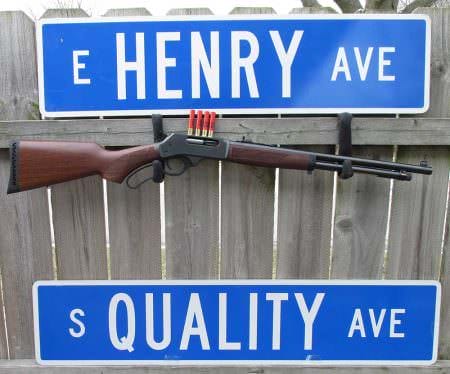
Over the years, I’ve owned at least 6-7 lever action rifles. I’ve never mounted a scope on one. It seems sacrilegious or something! I mean, John Wayne would roll over in his grave if he saw someone mounting a scope on a lever action and call us a bunch of pilgrims. But I’m testing the new Henry .360 Buckhammer, and I got thinking. It’s not fair to Henry if I say it only got a 3-inch group at 50 yards when the root cause was I can’t shoot open sights.
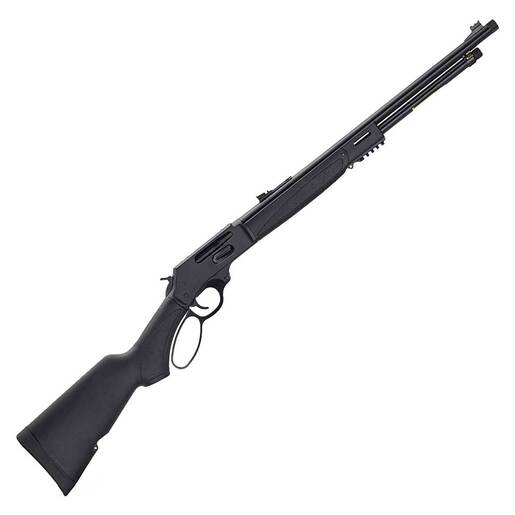
Henry .360 Buckhammer
Live Inventory Price Checker
|
Henry X Model 360 Buckhammer Blued Steel Lever Action Rifle - 21.375in - Black | Sportsman's Warehouse | $ 969.99 |
|

|
Henry Repeating Arms X Model .360 Buckhammer 21.375 Barrel 5-Rounds | GrabAGun | $ 889.99 |
|

|
Henry Brass Side Gate, .360 Buckhammer, 20 Barrel, 5+1 Capacity, Rifle | BattleHawk Armory | $ 1248.00 $ 916.99 |
|
|
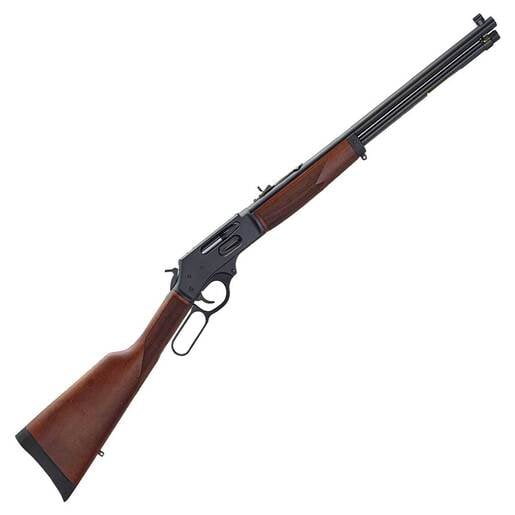
Henry Steel Lever Action Side Gate 360 Buckhammer Blued Steel Lever Action Rifle - 20in - Brown | Sportsman's Warehouse | $ 919.99 |
|
Then, another thing happened last spring that started the shift in me accepting a scope on a lever action. I was on a Texas hog hunt with a Henry 45-70. I got within 75 yards of two hogs and only hit one. Why even have a rifle that is good out to 250 yards if you can only hit something out to 50-75 yards?
In the old-school buckhorn sights that a lot of lever actions have, the end bead is pretty big. I’ve never missed a bear in my life, and years ago, I missed one with my Henry 45-70. As luck would have it, while I was sitting in my bear blind, I was reading a magazine and saw an advertisement for Skinner Sights, which are the best lever action sights on the market. An hour after reading that ad, a bear came into my bait, and I missed him. So right away, I called Skinner’s and soon had one of their peep sights in my hot little hands and slapped it on my Henry 45-70. Then I went back to bear hunting and redeemed myself.
After receiving the Buckhammer, the “It’s okay to put a scope on a lever action” mindset finally solidified, and I decided to mount a scope on the Buckhammer so it could tell me what it was really capable of obtaining.
If you’ve never mounted a scope on a rifle, you may ask how to do it. It’s really not that complicated, but you do need to follow certain steps. In this article, let’s cover how to mount a scope on a Henry rifle.
The first step is to mount it on a picatinny rail. To do this is simple. First, you will have to order a Picatinny rail from Henry. As far as I know, no one carries one that will fit a Henry. (The receiver is drilled and tapped to accept a Weaver 63B scope base). When you receive it, remove the four set screws on the top of the action. Set the picture rail on top of the action. Place the semi-rounded end on the backend.
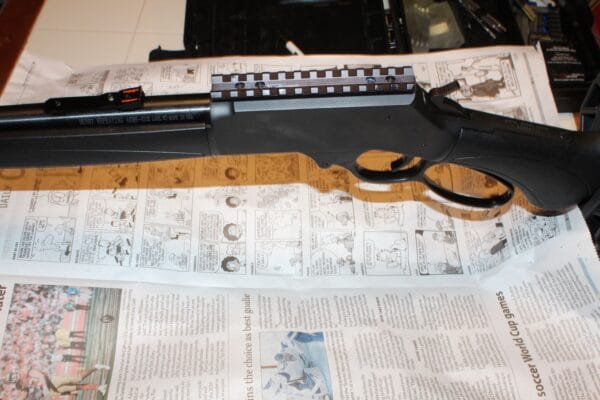
Order some LOCTITE 42 from Brownell’s. Apply a drop or two of LOCTITE 42 to a screw and screw it partially. Repeat the process for all four screws. Next, screw them down snugly and then screw all four down tight to spec.

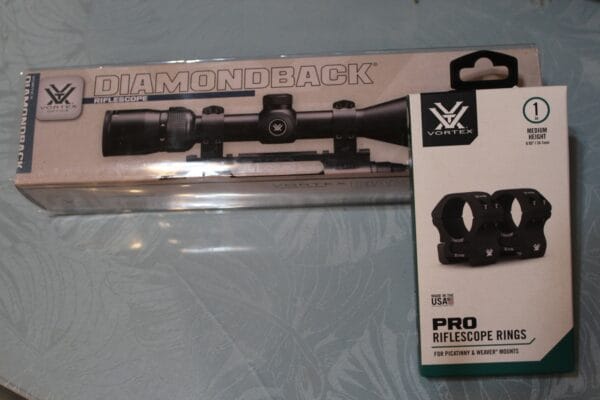
For this review, I used Vortex Pro Riflescope Rings and a Vortex DIAMONDBACK DBC-04-BDC 4-12 x 40 scope. Next, we’re going to mount on the scope rings. Set one ring at the front of the picatinny rail and one at the backend. Slightly tighten them down.
Now, lay the scope on the rings. Go outside and throw up the rifle. Do you need to move the scope forward/backward or is the eye relief perfect? It is not perfect if you have to move your head forward or backward. You want it perfect. If it isn’t, then move it to where it is. You want it to be where all you do is throw your rifle up to your shoulder and the eye relief is perfect. When hunting, you don’t want to waste precious time bobbling your head back and forth to get a full field of view. You want it to fit automatically.
Move your scope to the correct position. You may find that you need to reposition the rings. If the rings are in the correct spot, then tighten them down to the 30 in-lbs.
Next, put the tops on the rings and loosely tighten them. After this task, check again to ensure the eye relief is properly set. Next, make sure the crosshairs are square with the world. This is important if, for instance, while sighting it in and it is shooting high, the cross hairs are out of whack when you crank it down 6 clicks; it might not only be turning it down but also sideways. Make sense?
It is important to tighten everything to the manufacturer’s specs. I got a Brownell’s torque wrench. You can set the torque to whatever in-lbs. that you desire from 10-70 in-lbs. For instance, on the bottom half of the ring, which locks onto the picatinny rail, the spec is 30 in-lbs.
But when screwing the top half of the ring onto the top of the scope, the spec was only 15-18 in-lbs. You don’t want to over-tighten these, or it can warp the tube and damage the inner parts of the scope.
When you tighten the bottom of the rings to the picatinny rail, ensure the rod on the ring is properly in the slot on the picatinny rail. Push the rod up against the front end of the slot and then tighten it down to spec.
To make the whole process easier, I’d really recommend that you get an Otis Range Box. You can place the Henry in the forks, and it will hold it firmly in place for you to work on it. So, the Otis Range Box is great to use to not only clean your rifles but also to work on them. In the old days, I’d throw a pile of blankets on the kitchen table to lay my rifle on when cleaning or working on it. This method is horrible at best!
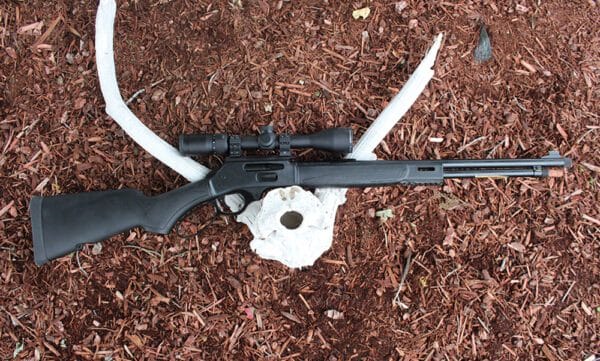
We are now ready to test the Henry .360 Buckhammer. But we are out of room and will cover that topic in the next Product Review.
About Tom Claycomb
Tom Claycomb has been an avid hunter/fisherman throughout his life as well as an outdoor writer with outdoor columns in the magazine Hunt Alaska, Bass Pro Shops, Bowhunter.net, and numerous magazines and newspapers. “To properly skin your animal, you will need a sharp knife. I have an e-article on Amazon Kindle titled Knife Sharpening #ad for $.99 if you’re having trouble.”

